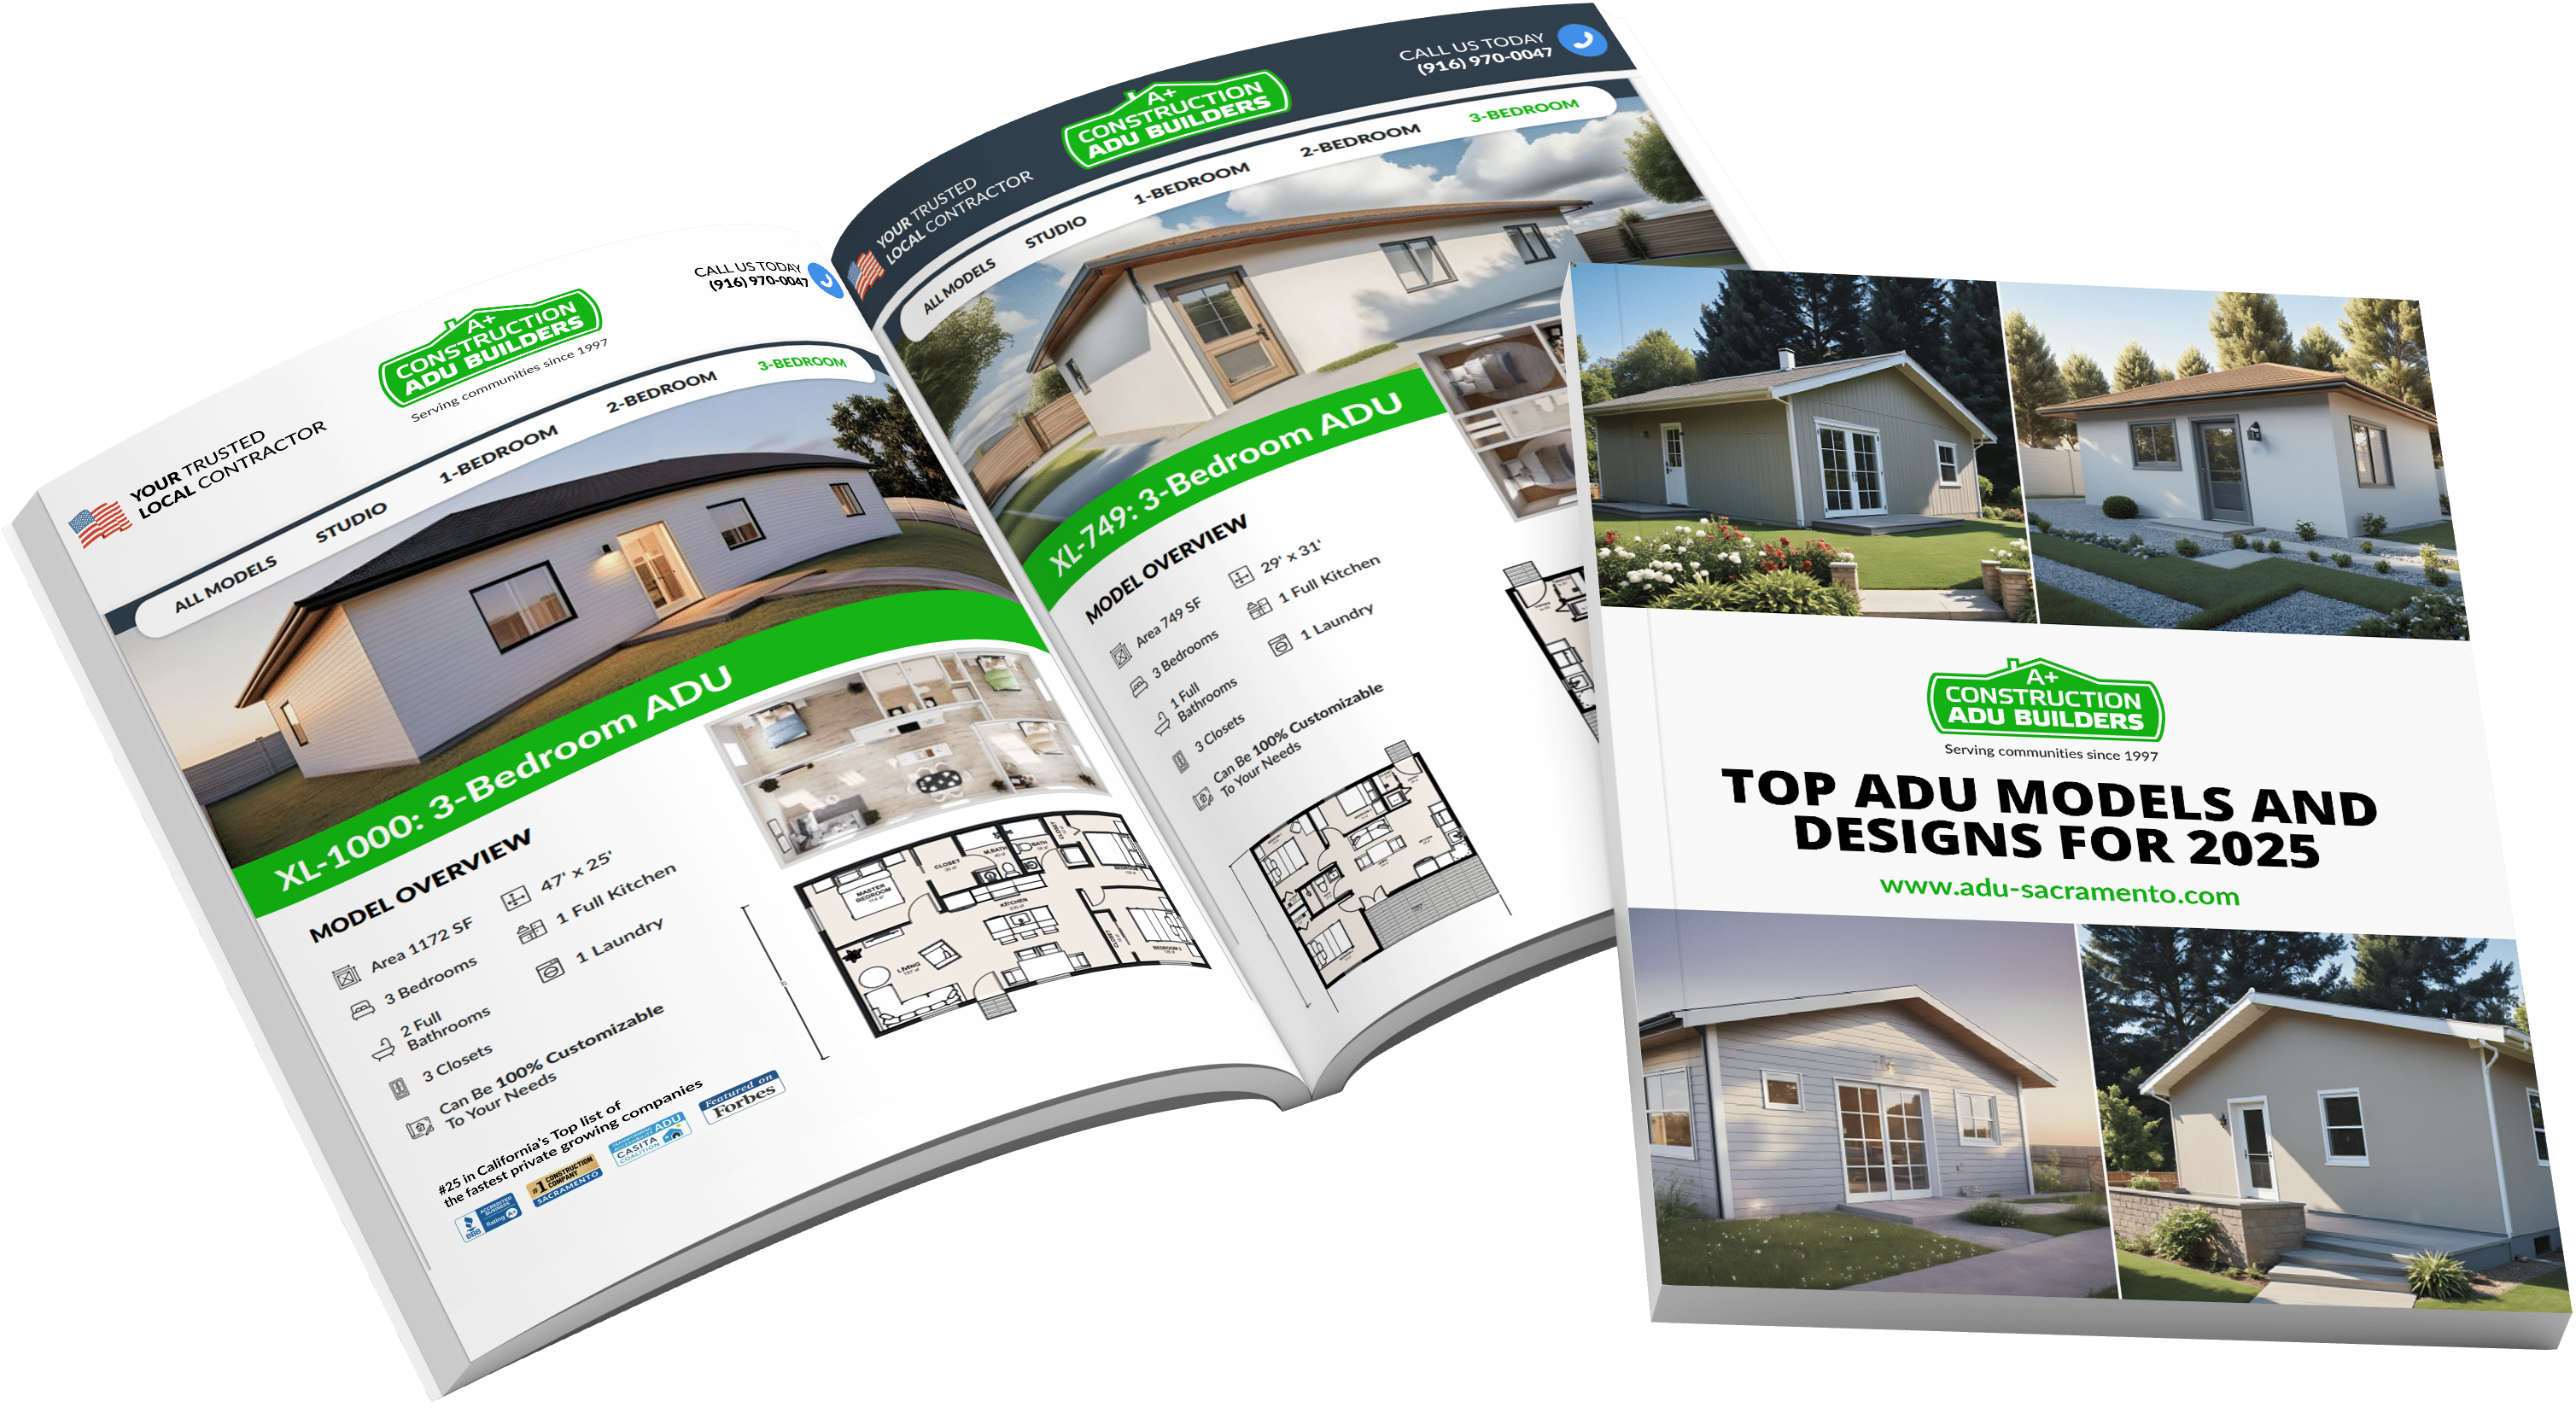

A link to download your FREE brochure will be in your inbox in 3 minutes




The final price may vary based on project specifics.
To get a free accurate quote tailored to your needs, book a consultation with us today!

The price per square foot provided is an average and may vary depending on project-specific details such as materials, location, complexity, and other factors. Actual costs may differ from the average provided.
It is recommended to obtain a detailed quote based on the specific requirements of your project.

Please note that the monthly payment displayed on this page is an estimate and is subject to variation based on the selected loan product, applicants credit score, loan amount, and other financial details. Actual monthly payment may differ from the estimate provided.
It is recommended to seek advice from a financial advisor or loan officer to obtain precise payment information tailored to individual circumstances.
 Your Trusted
Local Contractor
ADUs have become a rapidly growing trend in recent years. Various custom ADUs have flooded the neighborhoods in California, so some researchers even named it “the ADU revolution.”
However, some people are still wondering what this phenomenon even means, and after figuring it out, want to build their own ADU nearby.
ADU – what is this new trend?
ADU is deciphered as an “accessory dwelling unit,” which means an extra independent dwelling unit located near an existing single-family home. Even though there are some other names like “granny flat” or “secondary suite,” many people also call it “auxiliary dwelling unit” or “affordable dwelling unit,” which is wrong as it is not a correct name at all. So, avoid this mistake in the future.
As you can see, the first letter stands for “additional”; hence you should already have a primary building on the lot. There are many ways one can use these units, for example, to increase housing affordability, create more housing options in the community or let seniors live nearby. Therefore, counties and cities all over America are already changing legislation to support the construction of such units.
Concerning California, any property owner there can build an ADU. However, there are certain local regulations to be considered. There may be some special requirements, for example, a distance of an ADU from the property line (or a setback) or specific zoning rules. Some ADUs, for instance, may be banned on the basis of their location and the possible environmental damage they may cause.
Enrust this painful process to a team of experienced lawyers will do the research and inform you whether it’s possible to build an ADU on your lot or not.
As we have said, building requirements may differ, and California is no exception. Homeowners who want to build an ADU should pay attention to the following requirements:
So, you have decided to construct your own ADU on the lot but don’t know what to start with? Let us help with this task. Take a look at our guide to avoid any inconvenience and have every penny well spent. Here are the actions that have to be committed in this very order:
The feasibility study is a cornerstone of any new ADU project. This study includes an assessment of the practicality of a future project, in our case, the practicality of an additional dwelling unit. It takes into consideration various factors that may hinder the realization of your projects, like topography, zoning, or property setbacks. All these factors may affect different design moments of an ADU, and your budget will skyrocket as a result.
The next thing on the line is the design. It can be affected by many factors, for instance, by a floor plan, available space, and reasons for building an ADU, in other words, its intended use. It may differ depending on whether you want some extra space to simply store your belongings or to have your seniors nearby. The general contractor you hire will have to tell you all about the intricacies connected with the building of an ADU based on their years of experience.
After agreeing on the design according to the feasibility study, your budget, and the intended use, the specifications are summarized in a set of construction documents that later will be sent to the local authorities.
Obviously, to build an ADU, you will have to receive permissions from various departments connected with construction issues. First, a set of documents has to be collected where every small detail of your future ADU will be presented. The authorities of your city will check these documents for compliance with regulations. However, sometimes they may be returned to you with some revisions that you have to make in your future ADU before they can permit it. Reliable general contractors include these situations in the budget.
Overall, you would have to pay certain fees to the authorities; it’s a common practice. During this approval process which takes some time, you can already start ordering necessary materials and think about small quality-of-life features to add to your future ADU.
After receiving the permitted documents you can start the construction of an ADU. However, there is some preparatory work to be done on the site of your future dwelling unit. During this stage, all the objects that may hinder the construction are removed. Moreover, you may need the demolition of certain buildings or grading. Certain sites require excavation work before laying a foundation there. This whole process takes time, which is usually planned beforehand by project managers but better be acquainted with this stage anyway.
When the site is finally cleaned of unnecessary objects, it’s time to begin working on the foundation. Firstly, workers outline the boundaries of the future ADU by digging trenches. They allow us to see the amount of future work and start working on providing access to the necessary utilities. Next, workers use wooden planks that serve as boundaries for the liquid concrete, which is then poured there. After the concrete hardens up and creates the foundation, we’re ready to proceed to the next step, the framing.
As it’s obvious from the title, the result of this stage is a frame that will roughly outline the future ADU. Here our workers build walls, joists, roofing, windows, and doors. Yes, sadly, at this stage, your backyard will become a mess for some days during this loud construction work around your home. After the work on the exterior is done, it’s the MEP’s turn. These letters mean “Mechanical, Electrical, and Plumbing .”In other words, it’s all the wires that become integrated into the walls of your ADU. They are added to the frame this early because they have to be hidden behind the walls, which would be pretty difficult to do after, for example, the internal finishing is done.
In order not to freeze to death during the wintertime, we install the insulation into the walls of your future ADU. There are different layers of it that are installed both inside and outside the unit for maximum heat preservation. Our workers carefully cover any cracks that could be the reason for warm air leakage. This will save you lots of money on a heater in winter and air conditioning in summer. At this stage, we also install the drywall, and it may seem from the inside that your ADU starts looking pretty much finished. However, there is a long way to go.
Once your exterior has been completed, and the inside is protected from weather changes, we start working on the interior according to the previously chosen design. It all starts with sanitary ware, like valves, toilet, and sink. Where needed, light fixtures and electric appliances are added. If it’s a two-story ADU, then stairs and handrails are installed too. Let’s not forget about kitchen and bathroom cabinets that are necessary for any modern building. In the end, you receive an almost fully-functioning addition to your main building that can be used for different purposes.
Here your ADU can already be used as a living area. However, our team does a final cleaning; for instance, we get rid of the construction dust and packaging. Also, by taking the coating off different appliances and flooring, we make your ADU look finished. After this, your ADU will be visited by inspectors, and if everything was done in accordance with the initial plan, you will be given a certificate of occupancy or CO. From now on, you can live in this ADU. Typically, our clients commence the landscaping works or any other outdoor work, so we advise you to do so!
After all, even though ADU construction looks like a tiring and lengthy process at the first glance, in reality, it becomes a pure joy if you work with true specialists. Contact reliable professionals who work in California and build a custom ADU without a hitch.
As a trusted name in Sacramento’s construction industry, A+ Construction & Remodeling has carved a niche for ourselves as specialized ADU builders. Our team is comprised of professionals with diverse skills, all well-versed in the nuances of ADU construction. Every ADU home we construct bears testimony to our commitment to quality and our ability to tailor solutions to specific client needs. Over the years, our experiences have further honed our expertise, enabling us to turn even the most challenging projects into success stories. This constant drive towards excellence has cemented our place as one of Sacramento’s premier ADU builders – read more about here – https://aplusconstructionremodeling.com/adu-builders/, dedicated to delivering superior results on time, every time.
Get a First Look at Real ADU Projects